
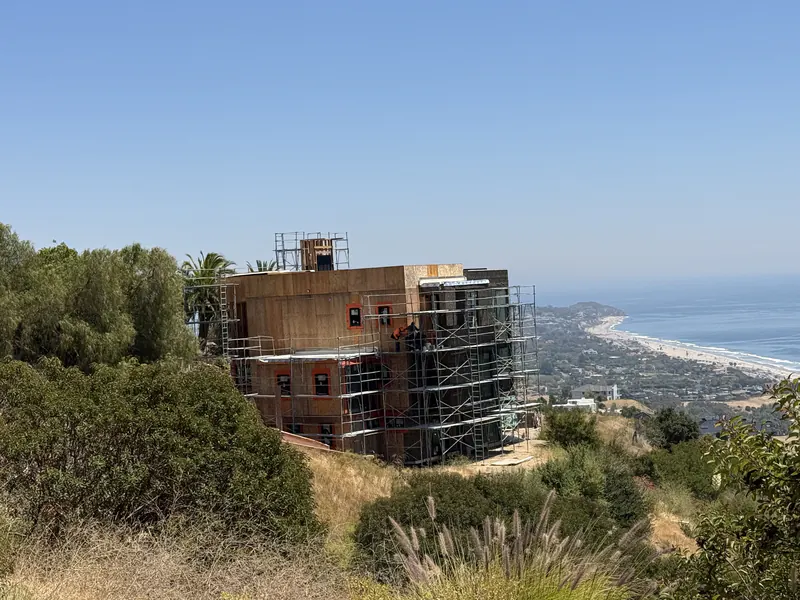
Above Grade Waterproofing in Los Angeles, CA
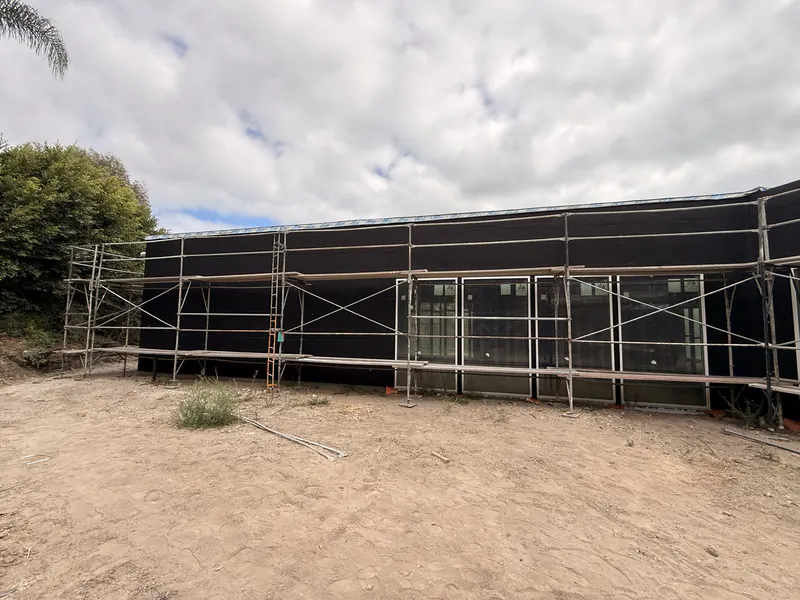
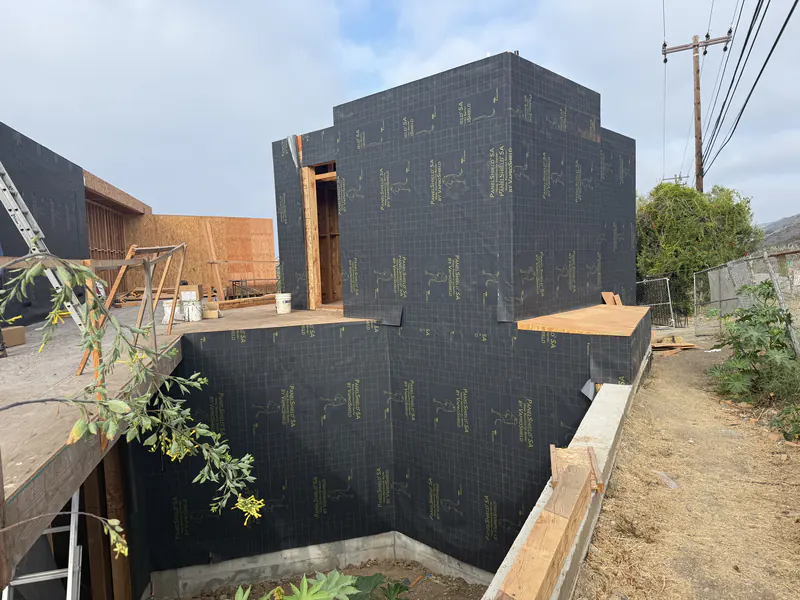
Waterproofing for the visible envelope, parapets, planters and balcony to wall transitions, with the air and weather barriers behind the cladding.
These are the parts of a building that everyone can see but few people think of as waterproofing details, and they fail in specific, predictable places. The job starts by mapping every transition point, a parapet cap, a planter built against a wall, a balcony meeting a wall, then prepping the substrate, applying membrane or coating, flashing the caps and transitions, and sealing the movement joints.
Parapet caps without proper flashing let water get behind the cap and run down inside the wall cavity, often for years before it shows up as staining below. Planters built directly against a house wall without their own separate waterproofing membrane let soil moisture wick straight into the structure, since dirt against a wall is essentially permanent damp contact. Balcony to wall transitions get treated as an afterthought after the deck coating is already finished, leaving a gap right where two systems were supposed to meet.
In Los Angeles these details take the brunt of intense sun most of the year and the occasional heavy rain event, and hillside homes often have planters built into retaining walls where a failure stays hidden until water is already inside the house.
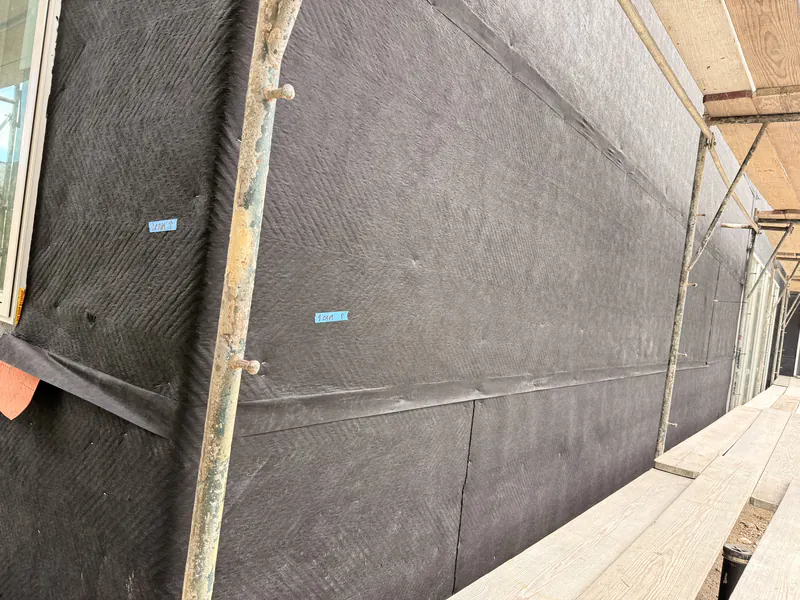
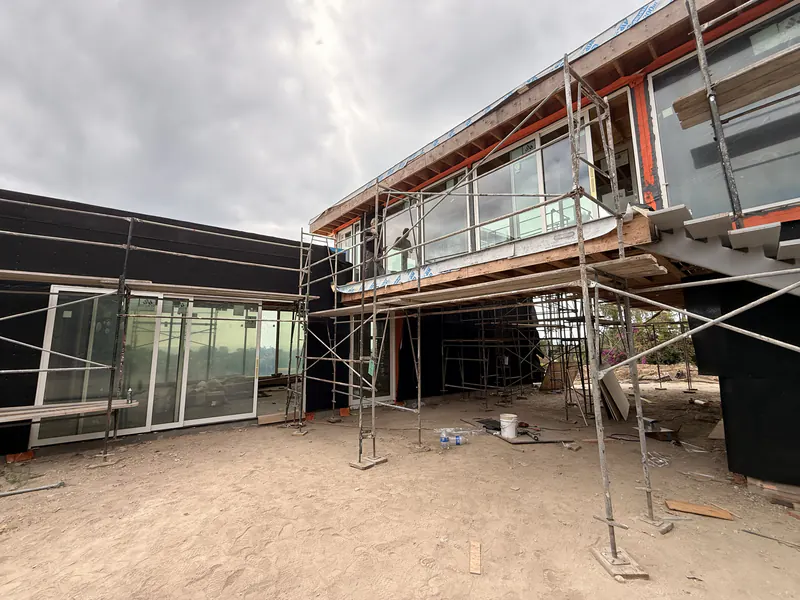
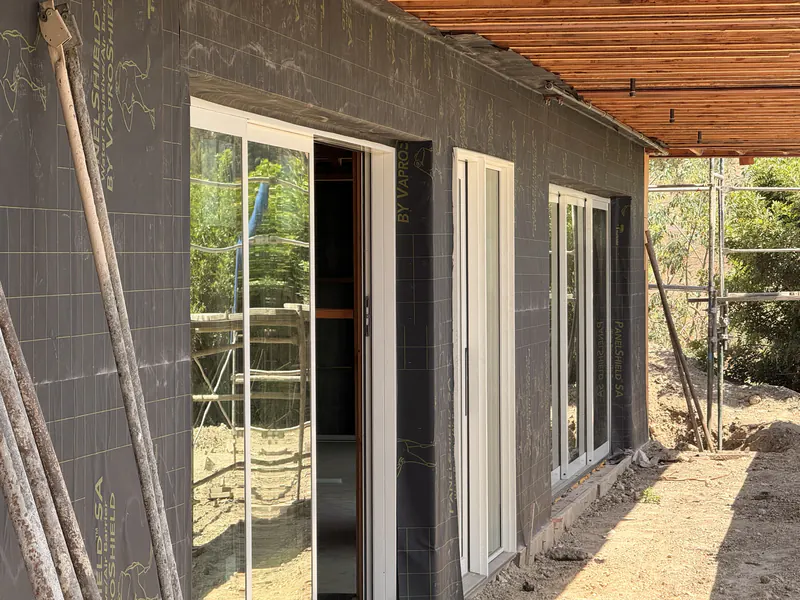
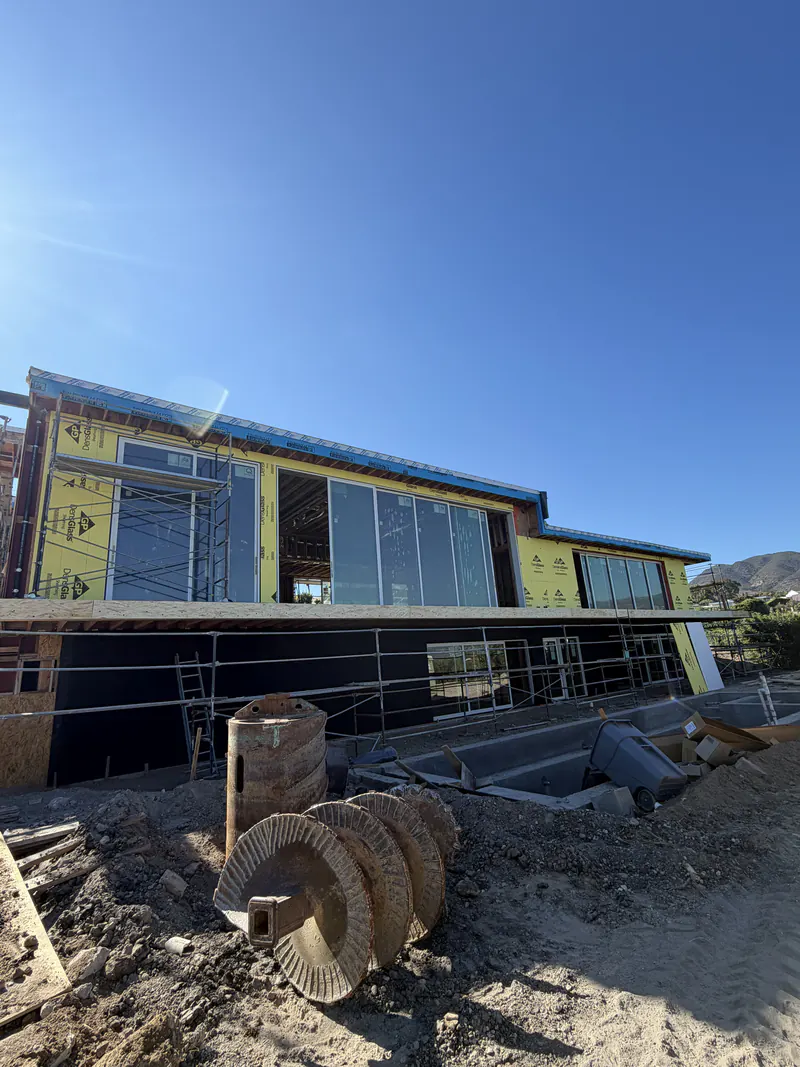
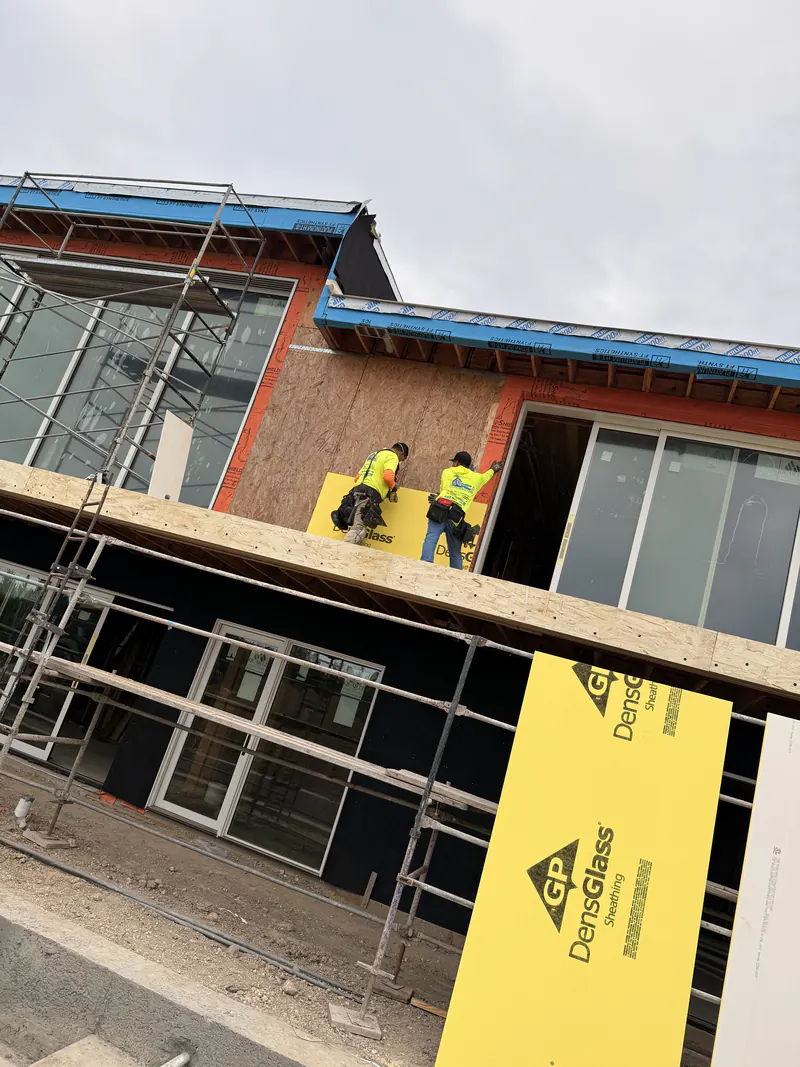
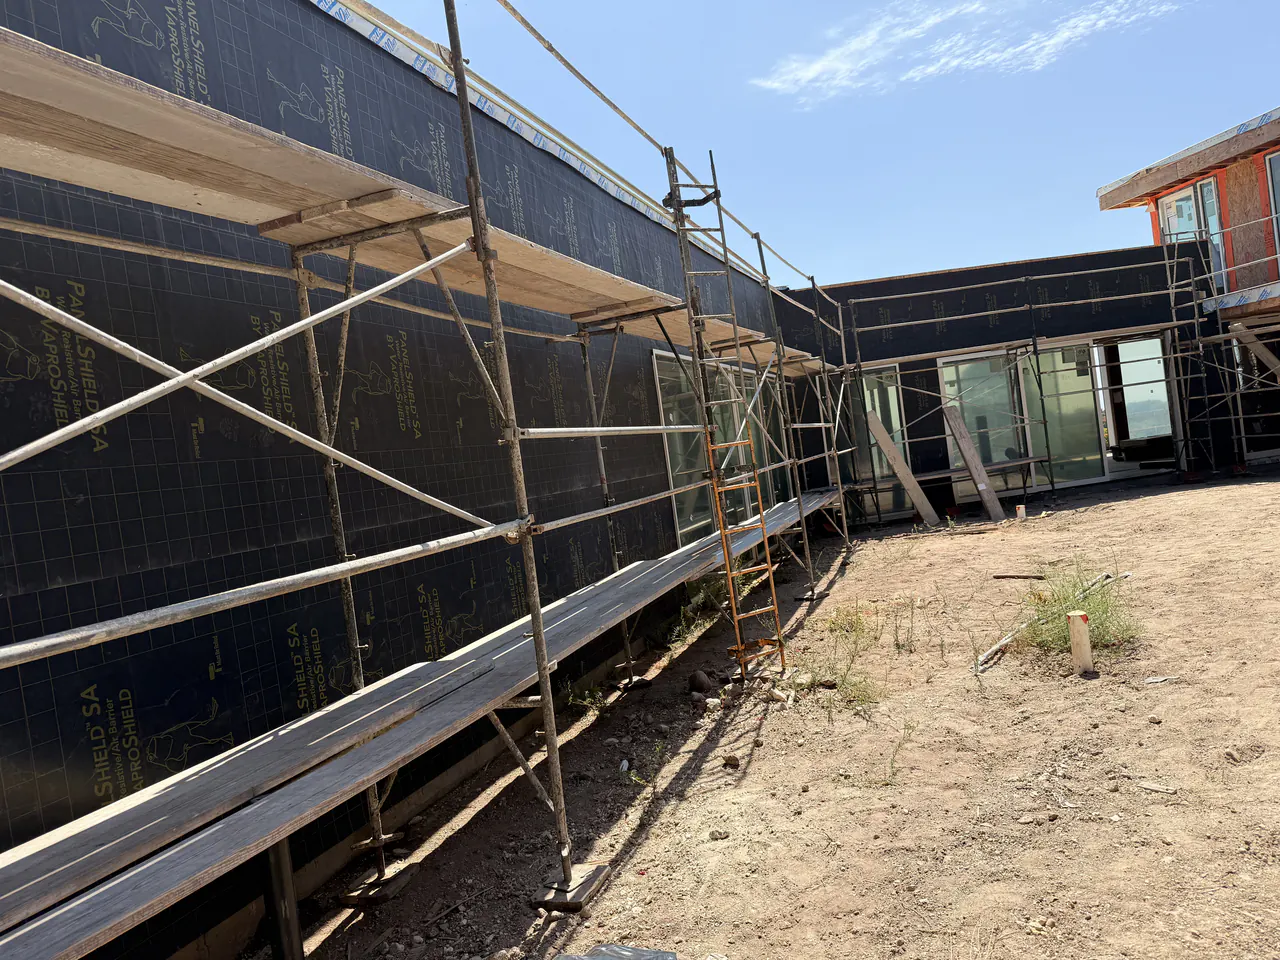
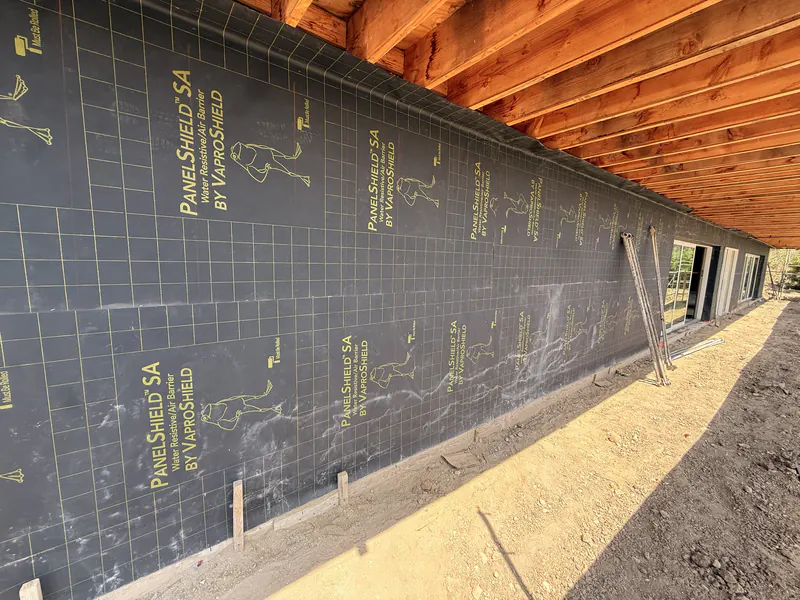
The weather resistive barrier goes on after the sheathing and before the cladding, and the sequence has to go bottom to top like shingles so water always runs over a lap instead of behind it. Windows and doors get flashed and integrated into the barrier as it goes, not added on top afterward, and every penetration for a hose bib, vent or conduit gets individually sealed.
The most common failure is a lap installed backwards or without enough overlap, so water that gets behind the cladding runs behind the barrier instead of over it. Window flashing that is installed on top of the WRB instead of properly integrated into the lap sequence lets water track down behind the barrier and straight into the wall framing. These failures do not show up right away, they show up as staining on interior drywall near a window, or rot found in the framing years later during a remodel.
A lot of homes in Los Angeles are clad in stucco, and stucco itself is not waterproof, it is a hard, crack prone surface that relies entirely on the barrier behind it to actually keep water out of the wall. That makes the WRB the part of the wall doing the real work, even though nobody sees it once the stucco goes on.
An air barrier only works if it is actually continuous, so the job is as much about the transitions as the field membrane. It goes over the sheathing, gets detailed carefully at every window and door opening, sealed at every pipe, conduit and vent penetration, and tied into the roof and foundation air barriers so there is no break anywhere in the line around the building.
Most air barrier failures are not the membrane itself, they are the details. Gaps get left around outlet boxes and electrical penetrations. Other trades cut through the barrier after it is installed to run something and nobody seals it back up. The barrier gets installed but never tied into the roof or foundation systems, leaving a gap right where two systems meet. The result is drafts around outlets and window trim, higher energy bills than the building should have, and sometimes condensation forming inside wall cavities where nobody can see it until there is a mold problem.
California's Title 24 energy code requires continuous air barriers on most new construction and major renovation work in Los Angeles, and even in a mild climate the marine layer and coastal moisture can work their way into an assembly that has gaps in it.
Above Grade Waterproofing in progress
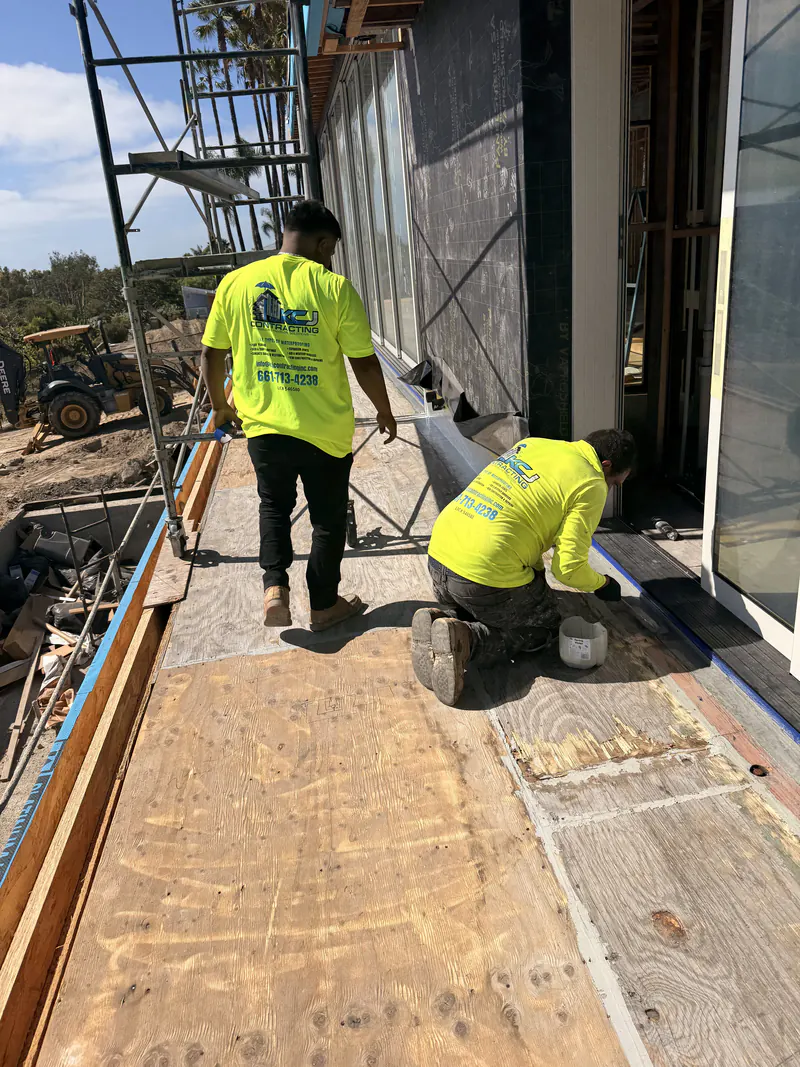
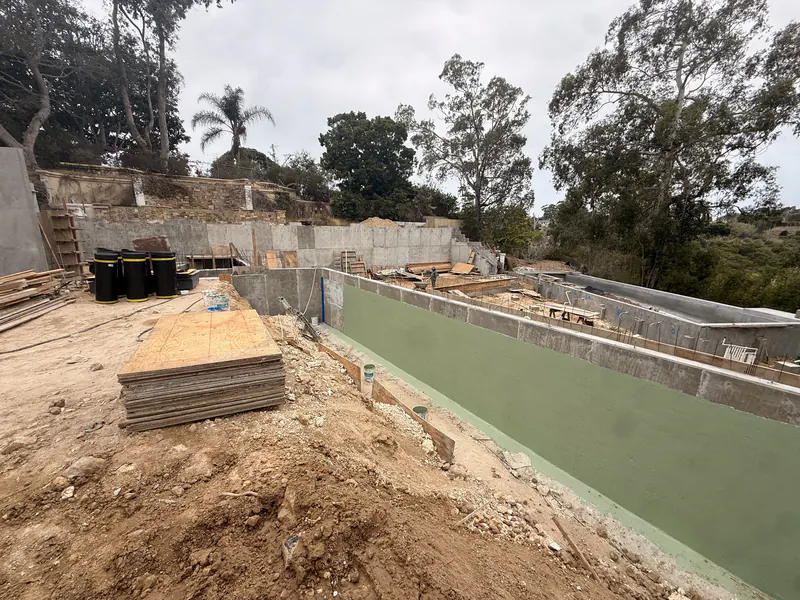
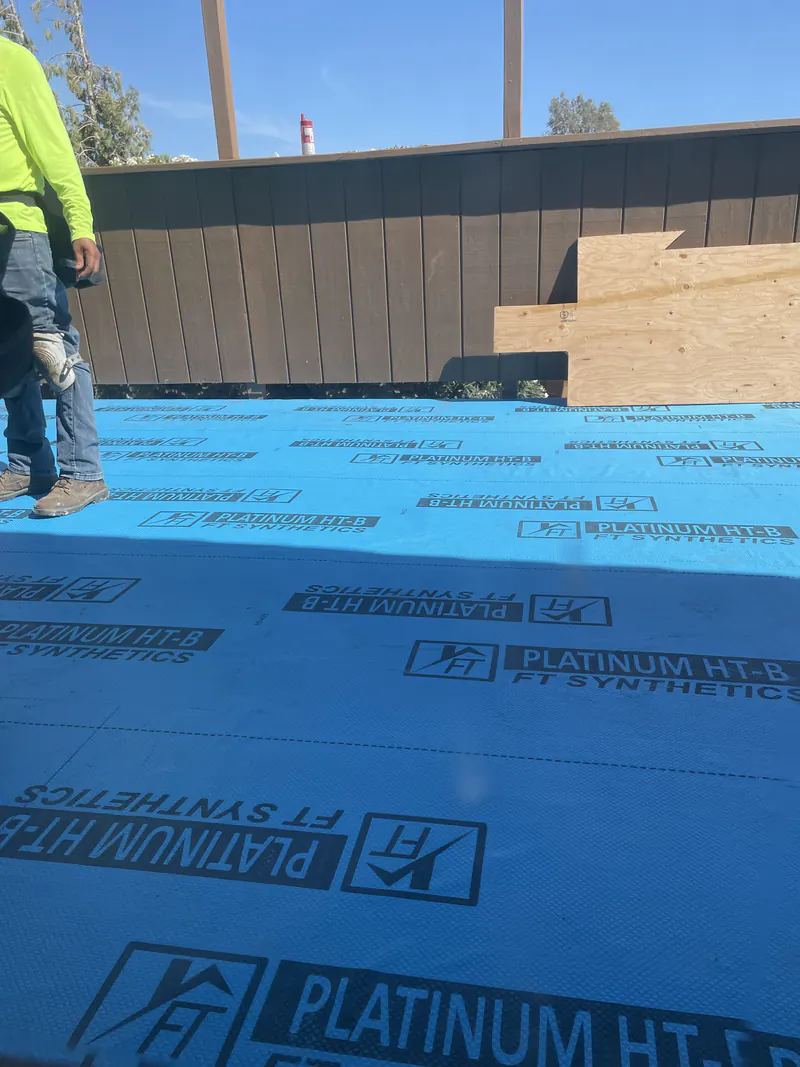
How it runs
Map transition points
Every parapet, planter and balcony transition is identified before work starts.
Inspect sheathing
The sheathing is checked for damage or moisture before the barrier goes on.
Apply membrane or coating
A waterproof layer is applied to the exposed surfaces and transitions.
Lap and sequence
Each layer overlaps the one below it so water always runs down and out, never behind.
Flash openings
Windows and doors are flashed as part of the barrier sequence, not added afterward.
Seal penetrations
Every pipe, vent and fixture penetrating the wall is individually sealed.
Flash caps and transitions
Parapet caps and other transitions get flashed to keep water from getting behind them.
Verify continuity
The completed barrier is checked for gaps before cladding covers it up.
Other things we install
Tell us about the project.
Send the property, the address and what you are seeing. If it is urgent, the phone is quicker than the form.